Voice-to-voice technology now incorporates natural speech patterns, including filler words like “mhmm” and “ya”, making conversations feel more authentic. Users can even interrupt the AI mid-sentence, closely mimicking human-to-human interactions.
Connecting to VAPI
Create a VAPI Account
Start by creating an account on VAPI. It’s a straightforward process - simply head over to VAPI’s website.
Create an Assistant
Once your account is set up, create an assistant on VAPI:
- Choose from various voice providers (e.g., Elevenlabs, Cartesia, OpenAI)
- Select a voice that fits your agent’s persona (For instance, our agent Gia uses the “Hannah” voice from Cartesia)
- Craft a well-formatted system prompt.
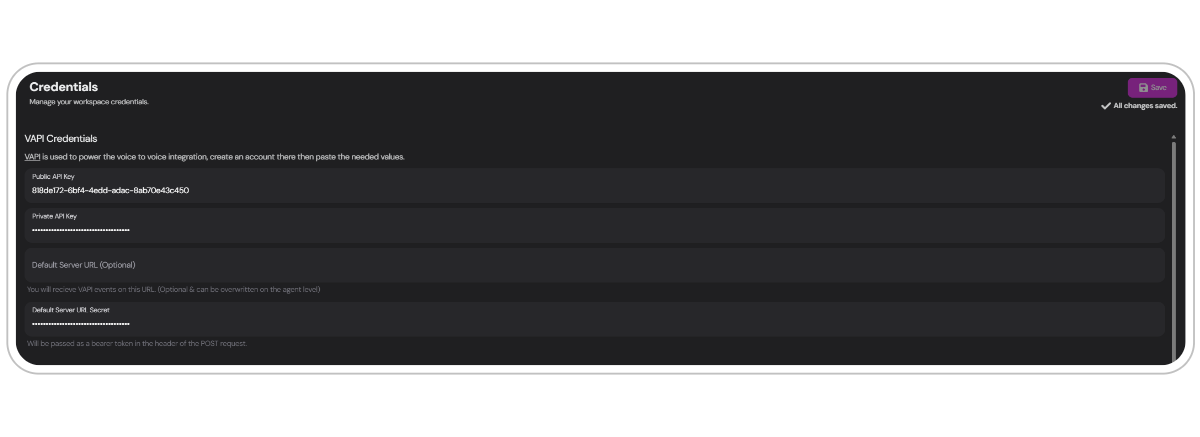
Obtain API Keys from VAPI
After setting up your assistant:
- Navigate to your profile in the left-hand corner
-
Go to
API keys - Copy both your private and public keys
Integrating with Your Agent
Now that you’ve set up VAPI, it’s time to enable voice capabilities for your TIXAE Agent:Access Agent Channels Tab
Choose the agent you want to set up for voice interactions and navigate to the channels tab.
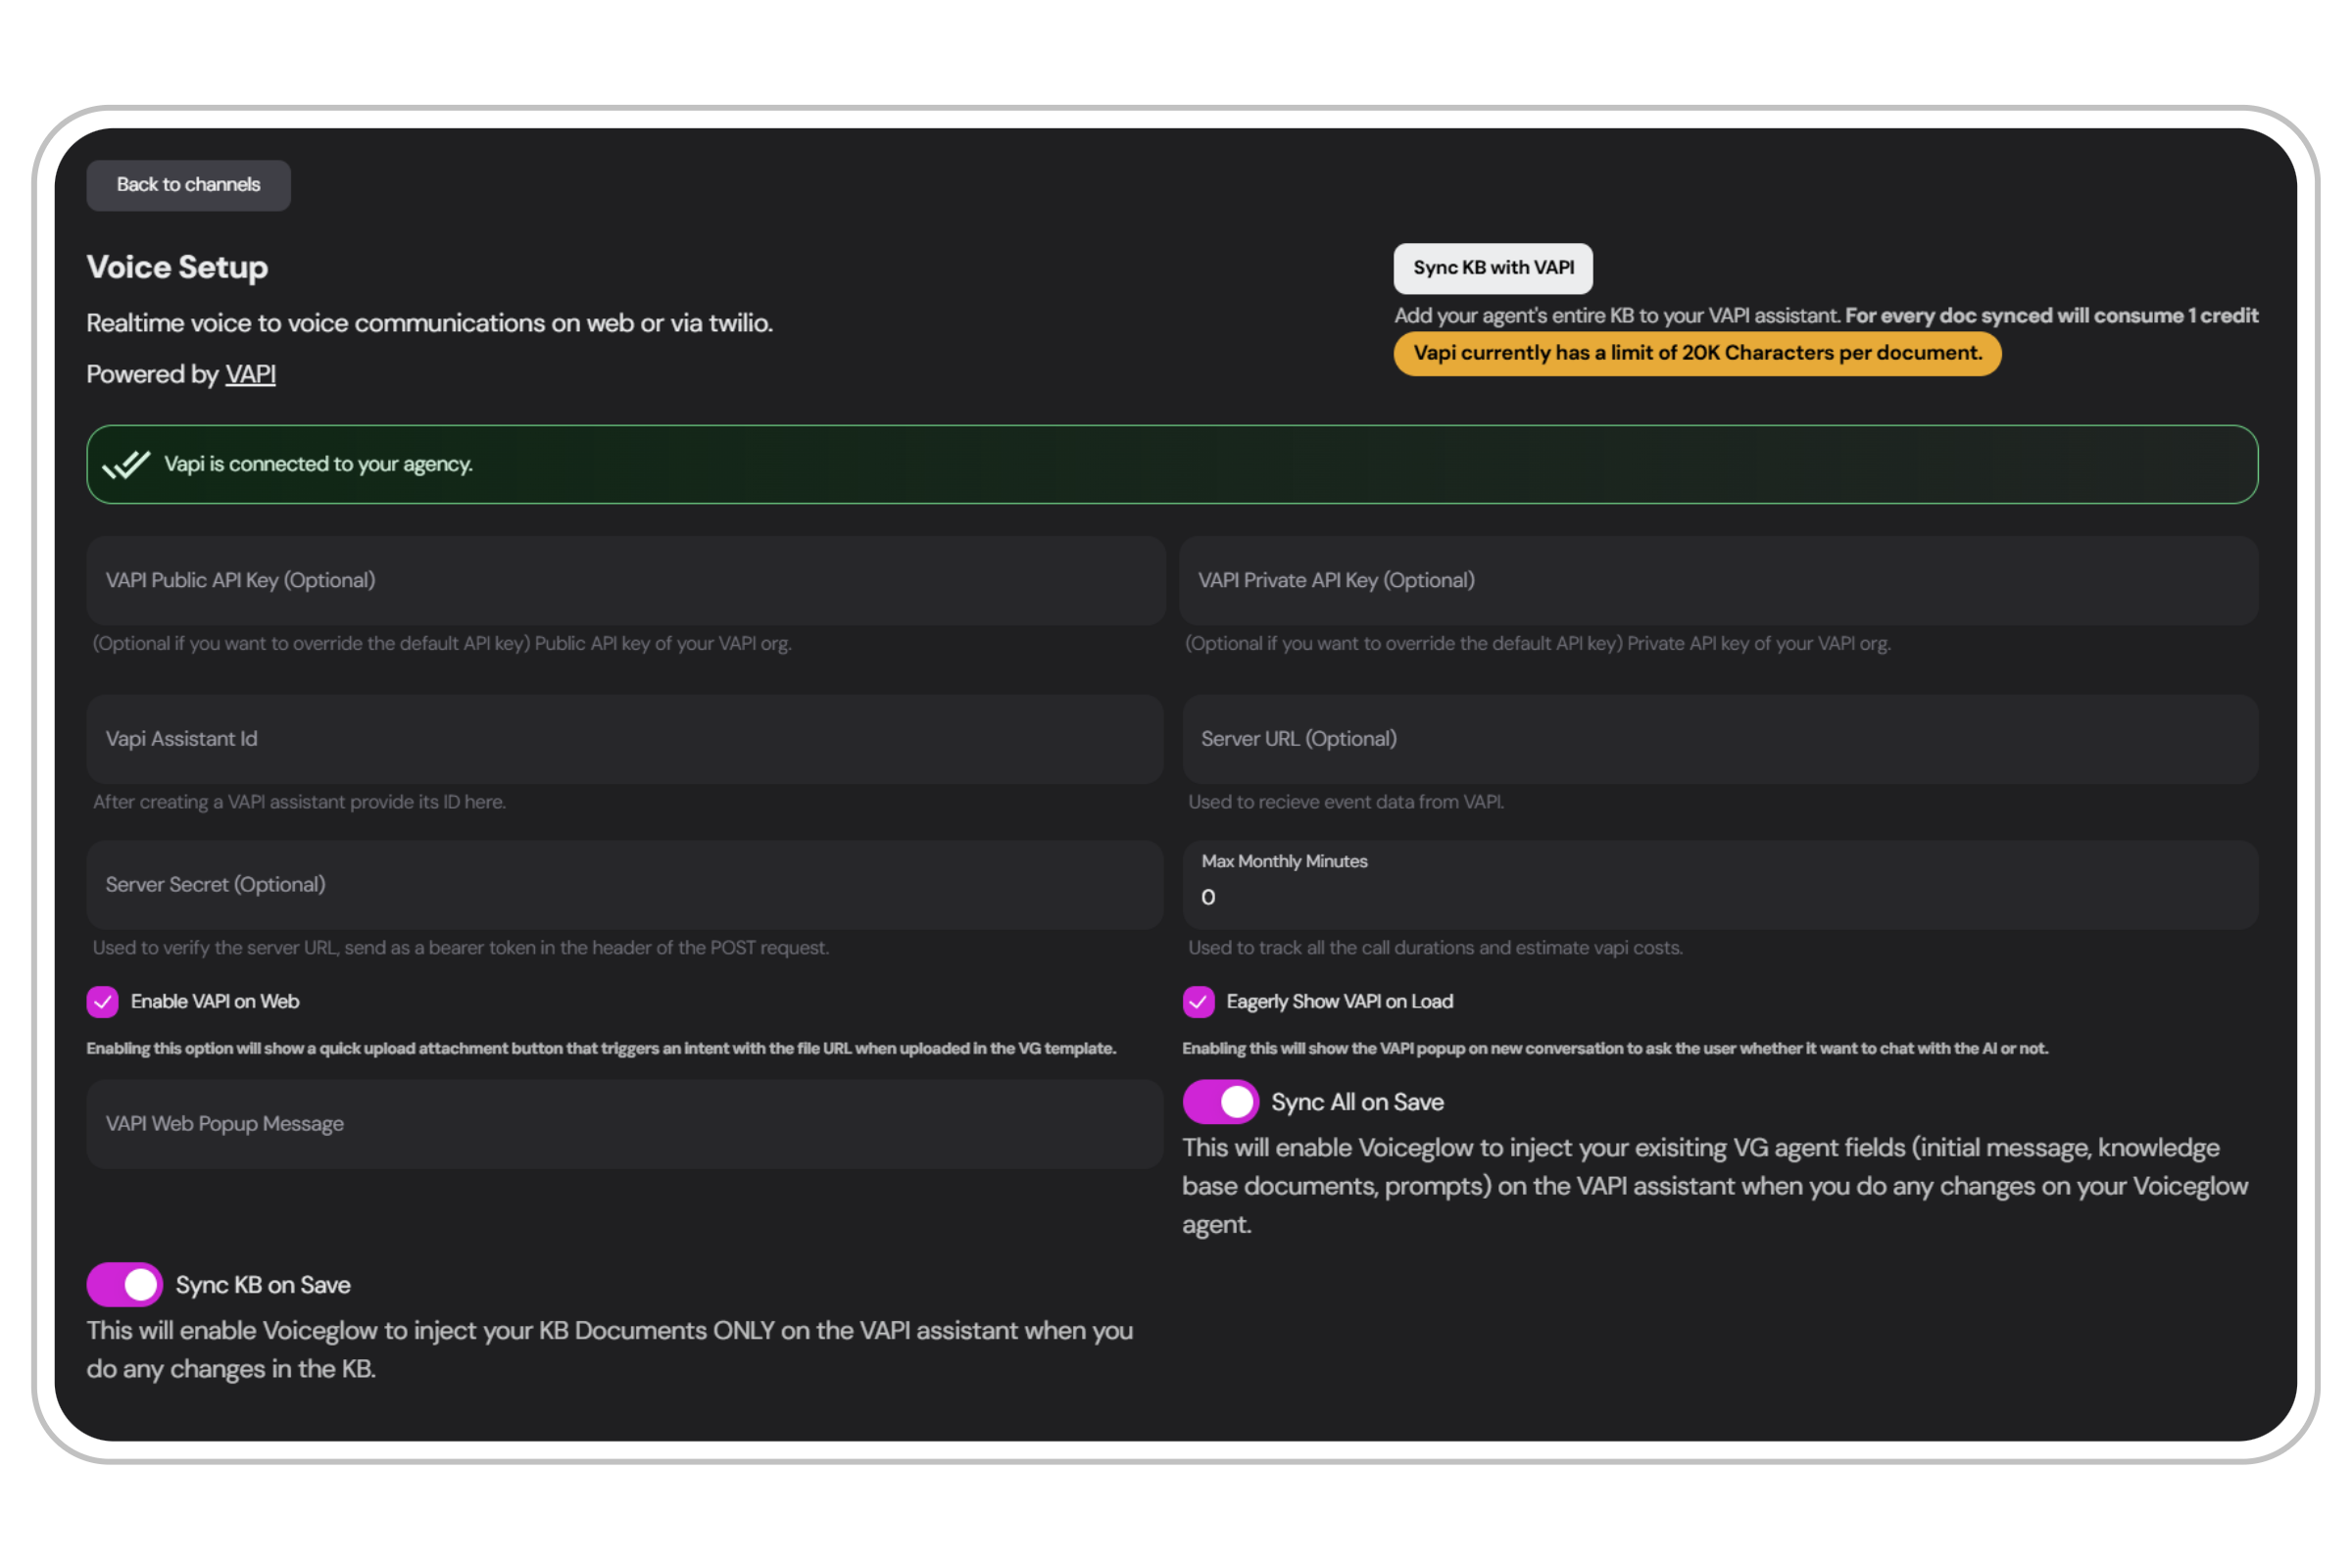
Add VAPI Assistant ID
The last field you need to fill out is the
VAPI assistant ID. You can find this in your VAPI dashboard - simply copy it from your assistant’s details.During a live conversation with the VAPI agent, the interaction is transcribed and is added to your current conversation. You can review these transcripts in the conversation tab for later.
Voice Integration Settings
The voice setup interface provides several options to customize how VAPI interacts with your agent:Sync KB with VAPI
Sync KB with VAPI
This option adds your agent’s entire Knowledge Base (KB) to your VAPI assistant.
- Each synced document consumes
1 credit - TIXAE Agent will inject your KB documents into the VAPI assistant whenever changes are made to the KB
Sync all on save
Sync all on save
Enable this to automatically update your VAPI assistant with changes made to your TIXAE Agent, including:
- Initial message
- Knowledgebase documents
- System prompt
Eagerly show VAPI on Load
Eagerly show VAPI on Load
When enabled, this option displays the VAPI popup at the start of a new conversation, asking the user if they want to talk with the AI.
See it in action:
Enable VAPI on Web
Enable VAPI on Web
This option adds a quick upload attachment button to the TIXAE Agent template. When a file is uploaded, it triggers an intent with the file URL in Voiceflow. Read more about the voiceflow integration here.You can customize the VAPI Web popup message in the provided input field.
Max Monthly Minutes
Max Monthly Minutes
If you want to restrict the usage of your VAPI assistant, this can be done by setting a limit for monthly usage.